Table of Contents
The Ultimate Guide to Using Dry Bag for Paddleboarding
When it comes to paddleboarding, staying dry and keeping your gear safe is paramount. Enter the humble dry bag—a simple yet ingenious solution for ensuring your belongings remain moisture-free. In this comprehensive guide, we’ll explore into the importance of such bags, the best practices for packing them, and how to utilize them effectively to enhance your paddleboarding experience.
Why Dry Bags Are Essential for Paddleboarding
Paddleboarding, by its very nature, involves water. Whether you’re paddling on a serene lake, navigating a river, or tackling the waves in the ocean, water is an ever-present element. This means there’s always a risk of your gear getting wet. Electronics, clothes, food, and other essentials can be ruined by water exposure, which is why these bags are indispensable.
Dry bags are specially designed to be waterproof. They are made from durable materials like PVC or nylon, with seams that are either welded or tightly sewn and then taped to prevent any water ingress. The top of the bag usually features a roll-top closure, which, when rolled down and secured, creates a watertight seal.
Choosing the Right Dry Bag
The market offers a wide array of options in various sizes, colors, and materials. Here are some factors to consider when choosing the right one for your paddleboarding adventures:
- Size: Dry bags come in sizes ranging from small (1-2 liters) to extra-large (30 liters or more). The size you need depends on what you plan to carry. Smaller bags are great for essentials like your phone and wallet, while larger bags can accommodate clothes, food, and even camping gear.
- Material: The most common materials are PVC and nylon. PVC bags are usually more durable and completely waterproof but can be heavier. Nylon bags are lighter and more flexible but might require additional waterproofing treatments over time.
- Closure Type: The roll-top closure is the most reliable for keeping water out. Some bags also feature additional sealing mechanisms like Velcro or zipper closures for added security.
- Transparency: Some dry bags are made from transparent materials, making it easier to locate items without emptying the entire bag.
Packing Your Dry Bag: Best Practices
Packing might seem straightforward, but there are techniques to ensure maximum efficiency and dryness. Here’s a step-by-step guide:

- Preparation: Lay out all the items you plan to pack. Group them by category—electronics, clothing, food, etc.
- Use Multiple Bags: Instead of using one large bag, consider using multiple smaller bags inside a larger one. This segmentation not only helps in organizing your gear but also adds an extra layer of protection against water. For example, you could have one bag for electronics, another for clothes, and another for food.
- Protect Electronics: Even though they are designed to be waterproof, it’s a good idea to double-bag electronics like phones, cameras, and GPS devices. Place them in smaller, zip-lock plastic bags before putting them into the bag.
- Pack Clothes Wisely: Roll your clothes instead of folding them. This not only saves space but also reduces the number of creases. Place heavier items at the bottom and lighter ones on top.
- Avoid Overpacking: Don’t stuff the bag to the brim. Leave some room at the top to properly roll down the closure. Overpacking can also stress the seams and reduce the bag’s waterproof effectiveness.
- Seal the Bag Properly: Roll down the top at least three times before securing it. Make sure the roll is tight and free from any twists or folds that might allow water to seep in.
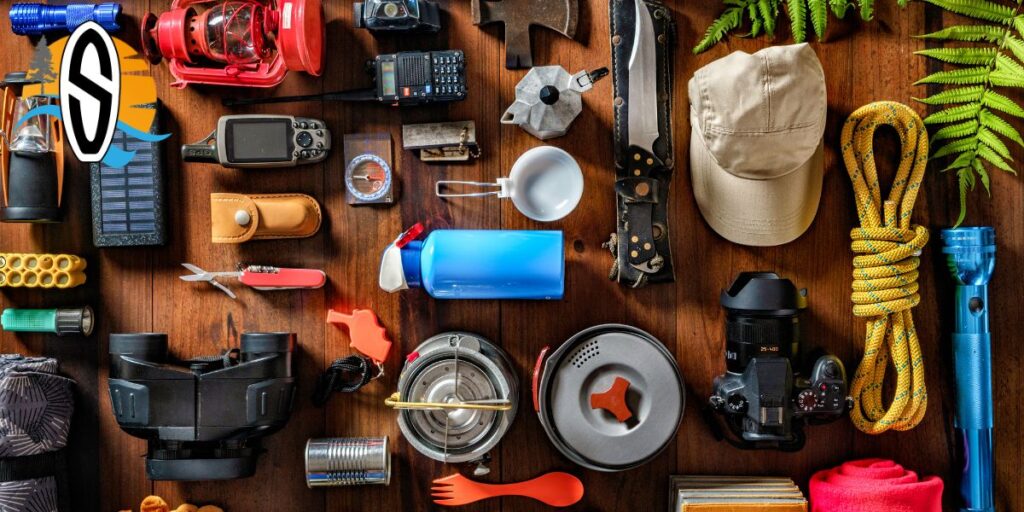
Knowing what you need is essential to a successful paddle board touring or paddle camping experience.
Using Dry Bags on Your Paddleboard

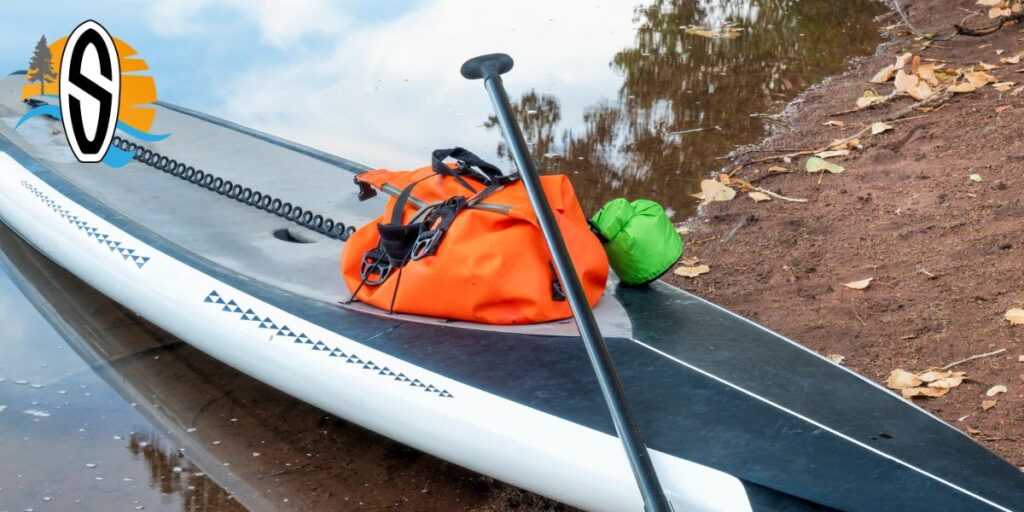
Once you’ve packed your bags, the next step is to secure them to your paddleboard. Here are some tips:
- Tie-Down Points: Most paddleboards come with built-in tie-down points or bungee cords. Use these to secure your dry bags. If your board lacks these features, consider adding some adhesive anchor points.
- Placement: Place heavier bags toward the rear of the board to maintain balance. Lighter bags can be placed towards the front or back.
- Quick Access: Keep frequently used items in a small dry bag that you can easily access without having to unstrap and open larger bags.
Safety Tips for Using Dry Bags
While dry bags are designed to keep your belongings dry, it’s essential to follow some safety precautions:
- Test Your Bag: Before heading out, test your dry bag at home. Fill it with some non-essential items, seal it, and submerge it in water. Check for any leaks to ensure it’s working correctly.
- Regular Inspections: Over time, wear and tear can compromise the bag’s waterproofing. Regularly inspect your bags for any signs of damage, such as holes, tears, or worn-out seams.
- Avoid Sharp Objects: Be mindful of packing items with sharp edges, as they can puncture the bag. If you must carry such items, wrap them in a cloth or place them in a separate bag.
Advanced Tips for Using Dry Bags
For those looking to take their dry bag game to the next level, here are some advanced tips:

- Compression Bags: These bags come with built-in valves that allow you to squeeze out excess air after sealing the bag. This can save space and make packing more efficient.
- Floatation Aid: Some bags are designed to float, which can be a lifesaver if your bag falls into the water. Even if your bag isn’t designed to float, packing it with some air can provide buoyancy.
- Labeling: If you use multiple bags, label them for easy identification. Waterproof labels or colored bags can help you quickly find what you need.
Conclusion: Embrace the Benefits of Dry Bags
In conclusion, dry bags are an essential accessory for paddleboarding. They offer a practical solution for keeping your gear dry and organized, allowing you to focus on enjoying your time on the water. By choosing the right bag, packing it efficiently, and following safety tips, you can enhance your paddleboarding experience and protect your belongings.
Whether you’re a seasoned paddleboarder or a novice, investing in quality bags and understanding how to use them effectively is a decision you won’t regret. So, pack your bags, secure them to your paddleboard, and set off on your next water adventure with confidence.
Remember, a well-prepared paddleboarder is a happy paddleboarder. Stay dry, stay safe, and enjoy the journey!

